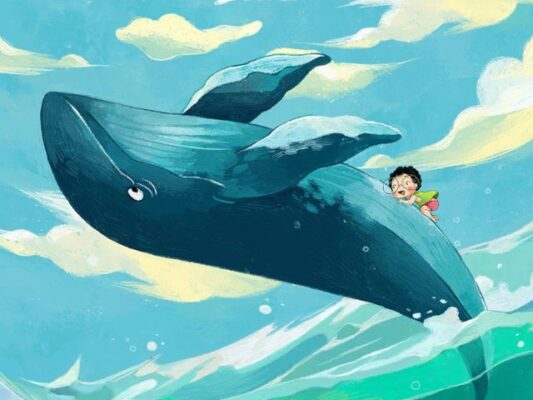
“Children’s books always contain magical wonders. Written for audiences bright and innocent, willing to believe in almost anything, children’s literature can take us to distant lands, introduce us to adorable talking animals, or immerse us in imaginative adventures. We firmly believe: there is always an audience for every style and personality of an illustrator. Be creative and dedicated, and your work will find its way into the hearts of readers and children’s bookshelves everywhere.” – Master Class
Contents
Step 1: Decide on a story idea
Begin by asking yourself: What do you love or find truly interesting?
Next, determine who or what you want as the characters in your book. They can be people, animals, plants, objects—anything you desire to breathe life into your story.
Then, unite your passions with the characters you wish to incorporate, and you’re prepared to infuse life into your story and embark on the writing journey!
Step 2: Create a schedule
Begin by determining the overall number of pages and word count you aim for.
If you’re also handling illustrations, consider the size of the book. It’s essential to make your illustrations larger than the intended print size for high-quality images, unless you’re using a vector-based design tool like Illustrator. The size of your illustrations will impact the time required, making it essential to factor in during the planning stage.
-
Create a dedicated calendar for your book creation:
Choose a timeframe for completing your book.
Mark off days when you know you won’t be able to work, including vacations. Remember to incorporate breaks to avoid burnout.
Break down daily tasks using the following formulas (if you’re doing both writing and illustrating, consider a timeframe for writing first and then illustrating):
WRITING BREAKDOWN FORMULA:
Total word count divided by total number of days = # of words per day
ILLUSTRATION BREAKDOWN FORMULA:
Total illustration count divided by total number of days = how many illustrations to finish per day
Having a measurable daily goal allowed you to track progress and make adjustments, ensuring you stayed on course or made up time on weekends if needed.
Step 3: Write the story
- Begin by crafting a rough outline to determine the flow of your story. If it follows a traditional format, create a concise outline for the beginning, middle, and end. For a more freestyle poem format, jot down anything you want to ensure inclusion and their order, creating a roadmap for yourself.
- Next, write a complete first draft of the book. Resist the urge to make it perfect! Just let the words flow without the pressure of perfection, and postpone the editing until after you’ve transferred your thoughts onto paper.
Seek feedback! Once you’ve poured your heart into the story and feel content, it’s crucial to prepare for feedback from individuals who have never read it. Be open to constructive criticism and insights that can help enhance your work.
Step 4: Illustrate the story
Begin by creating a mockup of your book, as it highly beneficial in determining the sequence of your illustrations. I recommend an analogue approach, as it made it easier for me to envision the entire book, including the cover and title page. However, feel free to go digital if that suits you better!
- Print out your manuscript. This helps visualize how you want your words distributed and where you intend to place them. Once satisfied with your layout, proceed to plan your illustrations for each page and consider how the images will complement the text.
Sketch out your drawings on your mockup to obtain a rough idea of how the entire book will flow.
- Initiate the illustration process. Utilize your paper, paints, or other chosen materials to bring your creations to life. Regularly consult your calendar to track progress and ensure you stay on schedule.
Step 5: Get feedback
Scan or photograph your illustrations and upload them to your computer.
Overlay the text onto your illustrations, using your mockup as a reference for placement. Compile the content sequentially into a PDF, creating a consolidated document.
*You may eventually need professional rescanning/photographing of illustrations before printing, so don’t worry about image size for now. Consider this a digital rough draft of your book!
Develop a list of questions that covers aspects to enhance your book. Include inquiries about specific areas you may be uncertain about and inquire about what people appreciate or dislike in the book.
Send your book (in PDF format) and the survey link to individuals within your target demographic, as well as a diverse group of family, friends, and/or co-workers.
Note For Beginners
-
Characters
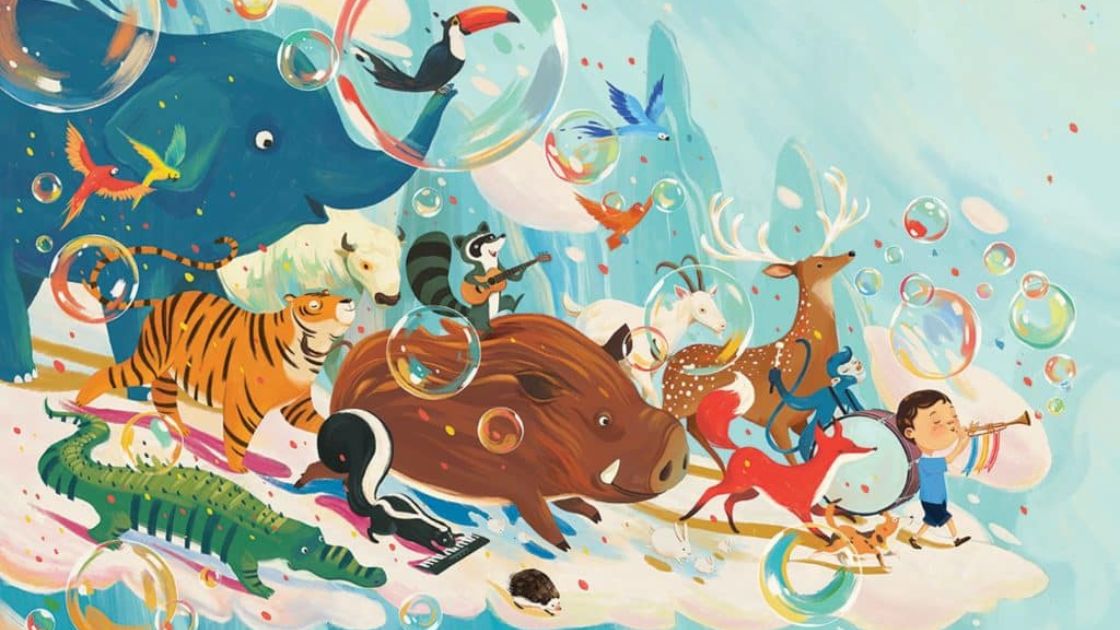
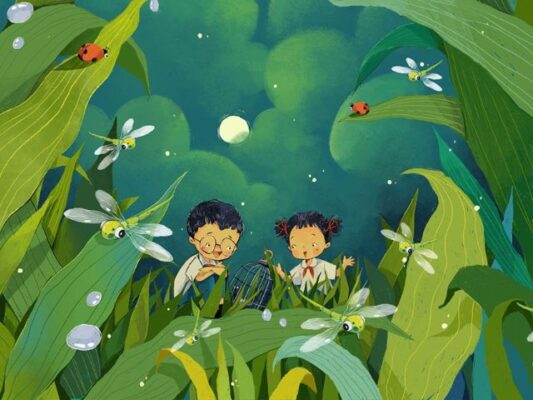
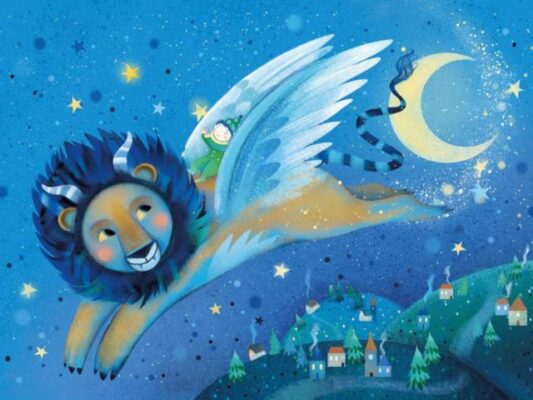
Creating a character first and foremost requires capturing the attention of the audience. The illustrator’s job is to capture that spark, that energy that has drawn our attention. Remember that the main character in children’s books is almost always a child because real-life kids often enjoy seeing others of their age group solving life’s problems.
Your character may always wear mismatched socks, have adorable eyes, or carry around a well-loved teddy bear wherever they go. Do they have wild red hair and crooked glasses? Is your character a child, a Chihuahua, or a chair? (That’s right, characters don’t necessarily have to be human, and that, in itself, can create an appealing character!)
“If everyone is a princess, then the princess is nothing special anymore.” – Olivia and the fairy princesses
-
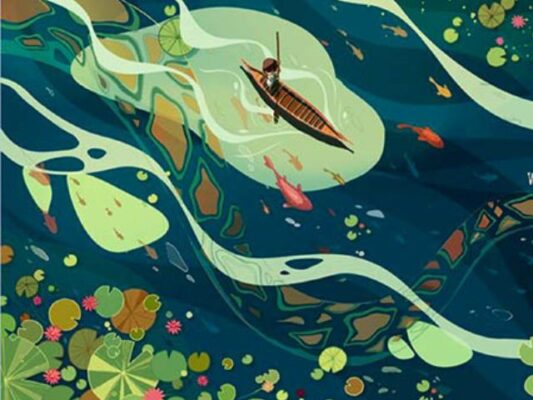
Backdrop
Once we have designed a fantastic character, our task is to place the character in their world. The environment in which you depict your character must align with the story, both in style and tone. Therefore, if it’s a simple character, you shouldn’t have them appear in a forest with tons of glitter. Moreover, if your character is carefree, painted with bright colors, they may not necessarily live in a grayscale world (unless juxtaposition serves a specific purpose in the story). Otherwise, ensure a cohesive connection between the character and the setting.
Additionally, during the creation process, we must consider the time and geographical location of the story. You may need to research to ensure that the clothes you choose for your character to wear, as well as the type of buildings lining the streets, align with the time and place of the story setting.
-
Book Cover
When creating a cover for a children’s book, consider how you will make it stand out and convey your story. Handwriting is very popular for titling Picture book covers because it connects the illustrator’s hand and the book’s design in a harmonious way.
If handwriting is not your strength, you can always rely on available beautiful fonts to create a hand-lettered feel.
Related posts