
Discover the magic of Text Photoshop Effects as we unveil the secrets to transforming ordinary text into extraordinary visual elements. Whether you’re looking to add depth, dimension, or flair to your designs, mastering these essential techniques will elevate your creative projects to new heights. Join us on a journey through the realm of Photoshop text effects and unleash your artistic potential like never before.
Contents
- 1 Essential Text Photoshop Effects Revealed
- 1.1 1. Setting Up
- 1.2 2. Adding Text
- 1.3 3. Combining Layers
- 1.4 4. Blurring and Solarizing
- 1.5 5. Colorizing
- 1.6 6. Polar Coordinates Distortion
- 1.7 7. Wind Simulation
- 1.8 8. Fine-Tuning
- 1.9 9. Reversing the Effect
- 1.10 10. Incorporating Images
- 1.11 11. Adding Borders
- 1.12 12. Exploring Further
- 1.13 13. Saving Your Work
- 1.14 14. Continuing the Journey
- 2 Conclusion
- 3 Related Post
Essential Text Photoshop Effects Revealed
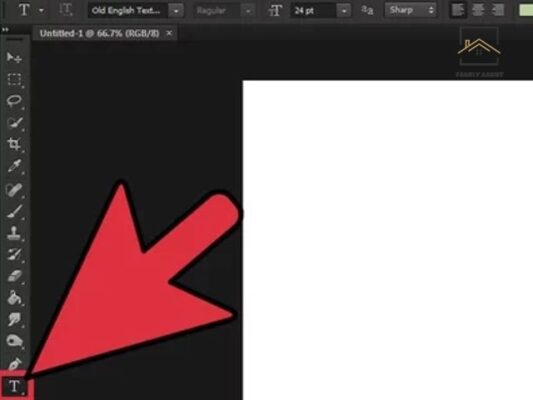
1. Setting Up
Begin by creating a new blank file in Photoshop named “Kids.” Ensure it’s set to U.S. Paper size with RGB color mode.
2. Adding Text
Select the Type tool and choose a bold font like Arial Black or Arial Bold. Type “KIDS” in all caps at the center of the document.
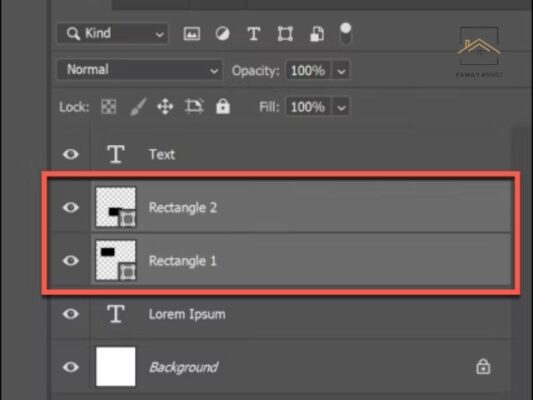
3. Combining Layers
Merge the text layer with the background layer to prepare for the effect.
4. Blurring and Solarizing
Apply a Gaussian Blur filter to the merged layer, followed by the Solarize filter to create a distinct outline effect.
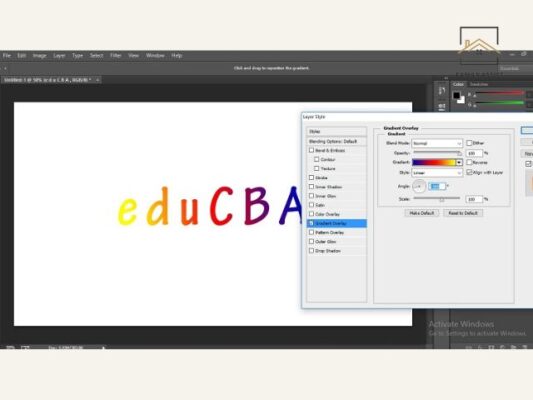
5. Colorizing
Use the Hue/Saturation adjustment to add color to the outline, giving it a vibrant touch.
6. Polar Coordinates Distortion
Apply the Polar Coordinates filter to distort the text and create the zooming effect.
7. Wind Simulation
Simulate wind effects with the Wind filter, adding a dynamic element to the composition.
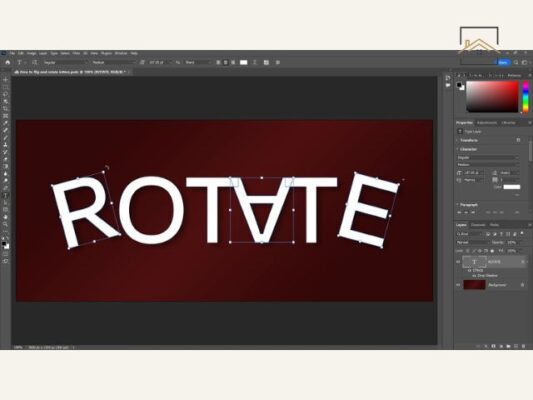
8. Fine-Tuning
Adjust the orientation and positioning of the text to achieve the desired effect.
9. Reversing the Effect
Optionally, reverse the effect to create a motion trail behind the text, adding depth to the composition.
10. Incorporating Images
Expand your creative horizons by integrating images into the composition. Adjust the placement, size, and blending modes to harmonize with the text.
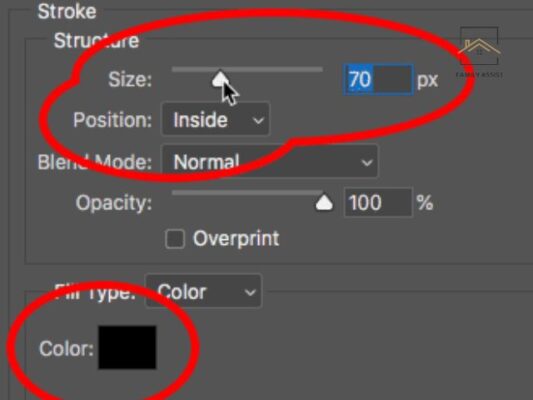
11. Adding Borders
Enhance visual appeal by adding borders around images, experimenting with different colors and thickness.
12. Exploring Further
Take your creativity to the next level by experimenting with various techniques such as rotation, layer stacking, and layer effects.
13. Saving Your Work
Save your project to preserve your creative masterpiece.
14. Continuing the Journey
Embark on your creative journey by exploring additional images and experimenting with various effects to unleash your artistic flair.
By mastering these techniques, you’ll be equipped to create captivating text effects and elevate your design projects to new heights in Photoshop. Let your imagination run wild as you explore the endless possibilities of text manipulation in this versatile software.
Conclusion
In conclusion, mastering Text Photoshop Effects opens up a world of creative possibilities, allowing designers to craft visually stunning compositions that captivate and engage viewers. By understanding the tools and techniques outlined in this tutorial, you’ll be equipped to transform ordinary text into dynamic visual elements that leave a lasting impression. So, let your imagination take flight and unleash the full potential of Photoshop’s text effects in your design endeavors.
Related Post
10+ Free Embroidery Patterns and Designs
Font Fashionista: 10 Fashion Fonts for Brands
Quick Guide: Design Cartoon Characters