
Enter the world of “The Power of 3D Printed Embossing Plates.” In this modern age, the fusion of 3D printing and embossing techniques has unleashed a wave of creativity like never before. With 3D Printed Embossing Plates, artists and designers can achieve unparalleled precision and customization in their craft. Join us as we explore the transformative impact of this innovative technology and its potential to revolutionize the art of embossing.
How to make 3D Printed Embossing Plates
Step 1: Drafting a Line Drawing
Commence by crafting a line drawing and saving it as a .jpg file.
Step 2: Transforming into a 3D Model
You can utilize the website online to streamline the conversion process of your drawing into a 3D model. Signing up for the website is effortless, requiring only your name and email, and it’s free of charge.

Import your drawing into the workspace and tweak the settings on the left side of the site. Adjust the size to 5 inches, switch units from MM to Inches, set the Blade thickness to at least 1mm, activate Imprint Stamp, and maintain Depth at 0. Afterward, download the STL file.
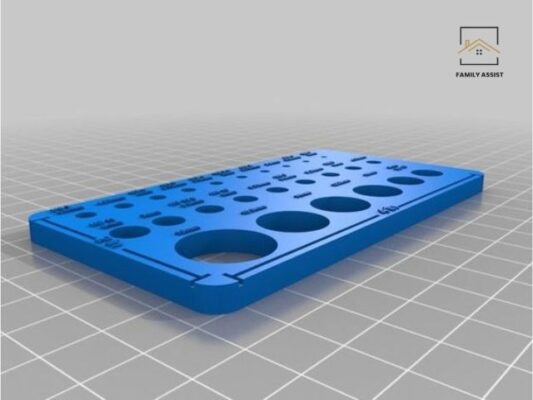
Step 3: Model Preparation in TinkerCAD
Import the downloaded STL file into TinkerCAD. Invert the cookie cutter so the handle is positioned on top, and add a hole box to encompass the cutter, lifting it to encompass solely the wide handle. Fuse these components to obtain the initial drawing. Modify the size of the object as necessary.
Step 4: Crafting the Embossing Plates
- Within TinkerCAD, devise two plates: a positive one with embossing bumps and a negative one with depressions. Ensure the height of the bumps and depth of the depressions do not surpass 0.6mm.
- Set a box’s height to 0.6mm, covering the lines, and enlarge its size by approximately 10mm. Adjust the lines’ height to 1.2mm, align them, and duplicate the pieces. Combine them to fabricate the positive plate. Duplicate the pieces again, invert them, convert lines into holes, elevate them by 0.6mm, and establish the plate’s thickness to 1.2mm for the negative plate. Save these as separate STL files.
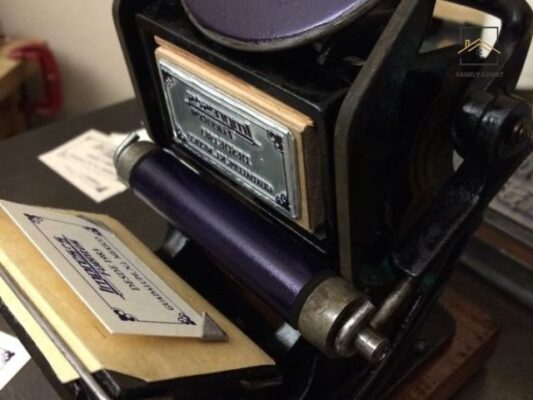
Step 5: Plate Printing
Print both the positive and negative plates employing a 0.2mm printing layer thickness and PETG filament, ensuring the first layer’s thickness matches the printing layer thickness.
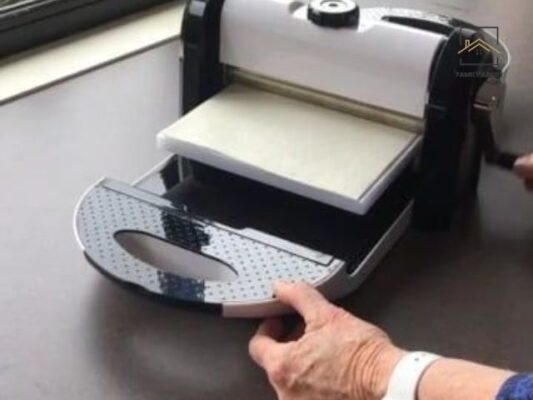
Step 6: Constructing the Folder
Cut two strips of robust craft cardstock slightly wider than the plates. Employ broad tape to connect them, apply double-sided tape to the back of the negative plate, and centrally position it on one strip. Repeat the process with the positive plate, then meticulously seal the folder to align the plates, affixing them with double-sided tape.

Step 7: Robot File Utilization
Utilize the provided STL files to print plates for the robot, adjusting the size by resizing the X and Y dimensions while maintaining consistency between both plates.
Conclusion
In conclusion, 3D Printed Embossing Plates represent a revolutionary advancement in the realm of design and craftsmanship. By seamlessly integrating traditional embossing techniques with modern 3D printing technology, creators can achieve unparalleled precision and creativity in their work. This innovative approach opens up new avenues for artistic expression and experimentation, promising endless possibilities for personalized designs and intricate patterns. As we continue to explore the potential of 3D Printed Embossing Plates, we look forward to witnessing further advancements and innovations in this exciting field.
Related Post
Unlocking the Potential: SVG to 3D Printing
Elevate Your Space: 7 Anime Room Decor Ideas
Top 10 Photoshop Portraits Actions