

Mastering the art of drawing roses opens a door to a world of creativity and beauty. Roses, with their delicate petals and timeless allure, are a captivating subject for artists of all levels. In this guide, we’ll explore the step-by-step process of drawing roses, from understanding their basic structure to adding intricate details. Whether you’re a novice artist or a seasoned enthusiast, learning how to draw roses is a rewarding and enjoyable journey that allows you to express your creativity and appreciation for nature’s elegance. So, let’s dive in and explore the wonderful world of drawing roses together.
Contents
Drawing Roses Guide Simple
Create Basic Shapes
Lay down the foundation of your rose drawing by sketching basic shapes and simple lines. Begin with shapes like circles, pentagons, or triangles, as suggested by Stanton, before delving into finer details. Emphasize the importance of shape relationships as you progress.
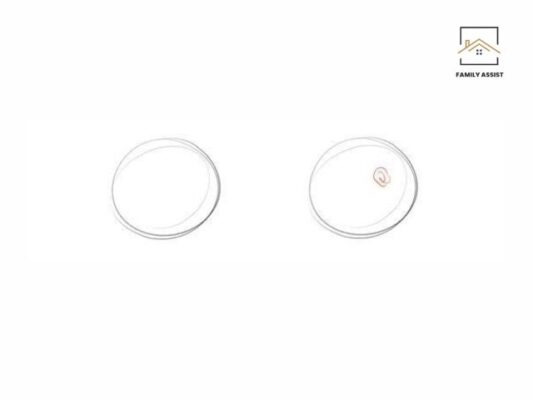
Define the Center and Petal Direction
Establish the center of your rose where petals converge. This central area typically resembles a smaller triangle or pentagon, with the openness varying based on the rose’s maturity. Additionally, outline the general direction of the petals to guide your drawing.

Add Petals on New Layers
Transition to a new layer in Adobe Fresco and reduce the opacity of the initial layer. Proceed to add petals individually, starting with the outermost ones. Imagine each petal unfolding from the central bud, initially focusing on simpler shapes before refining the edges later.
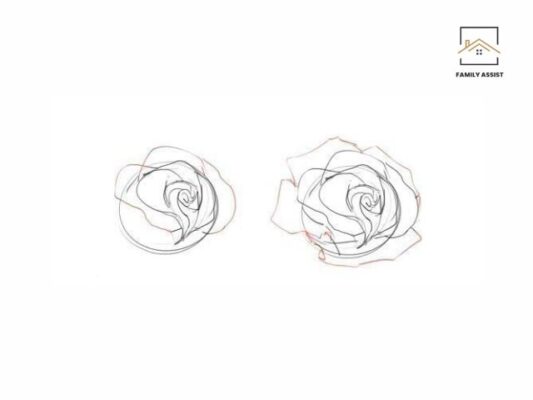
Refine with Multiple Layers
Consider placing each petal on its own layer to facilitate individual coloring and manipulation. Utilize features like Auto-Select Layer to streamline your workflow. For a deeper understanding of the rose’s structure, overlay another semi-translucent layer to delineate internal components like anthers and ovules.
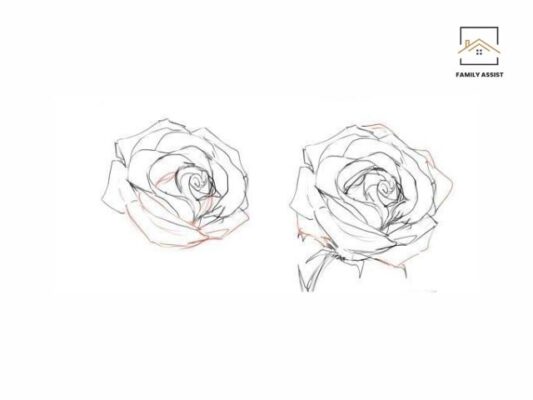
Enhance with Color and Texture
Leverage layer masks and brushes to introduce color variations or texture to your rose drawing, aligning with the contours of the petals. Alternatively, experiment with hatch marks using the Pencil tool for shading. Consider the concave and convex areas of each petal to accentuate shadows and highlights realistically.

Practice and Embrace Imperfections
Embrace imperfection as you embark on your journey to master drawing roses. Devote time to practicing various techniques independently, avoiding fixating on minute details. Elliott advises filling pages or sketchbooks with roses and encourages gesture drawing to capture the essence of the flower swiftly.
Conclusion
Drawing roses is an enriching endeavor that invites exploration and creativity. Through the step-by-step methods shared in this guide, you’ve gained valuable insights into depicting roses with confidence, whether on paper or digitally. Remember, practice is essential for mastery, so continue to sketch and refine your technique. With dedication and persistence, you’ll unlock the beauty and intricacy of roses in your artwork, allowing your creativity to flourish and blossom.
Related Post
How to Make Clothing Products Unique
Inspiration from Horror Art Services Design
Skills for Success in E-commerce